
The Five Gingerbread Men
By Philip Klock
My final project
consisted of 5 gingerbread men. My inspiration for this project came from the
animated movie Shrek. Using opengl's method of modeling for the gingerbread men seemed
too hard andĀtedious, so I opted to useĀan external 3D modeling
program. I ended up using the open-source software packageĀBlender.ĀBlenderĀseems pretty complex at first, but
handles very nicely once the controls are mastered.
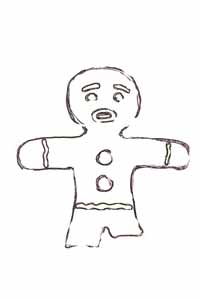
I used a background image to help me with the modeling
(the legs are broken offĀin the picture). I drew each of the models with vertices and edges,
connecting faces when applicable. "Tracing" the drawing, I was able
to come up with a pretty good representation of my gingerbread man.
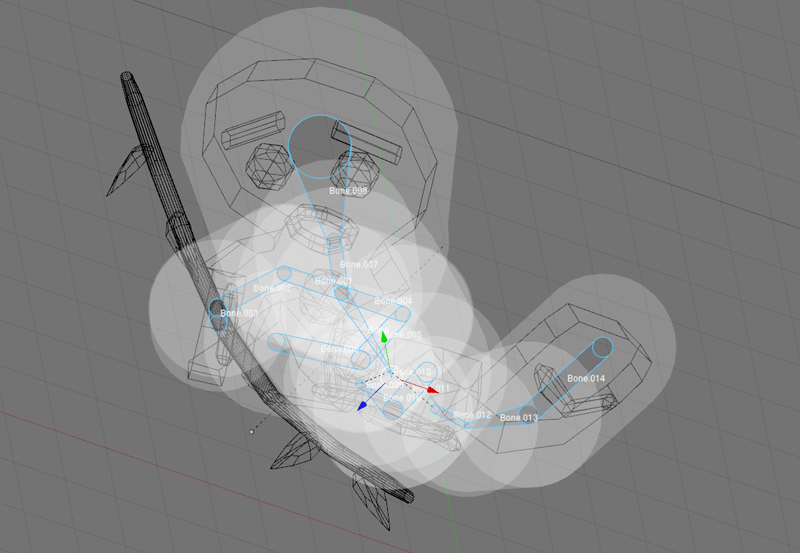
Next, came the task of posing each gingerbread man. This was done through the use of "armatures", which is essentially a rigid bone structure. I created the "bones" for each of the gingerbread men, positioning them as desired. The blue structure in the figure below is the armature, while the white ovals are the zones of influence to tell which vertices the armature is to move.
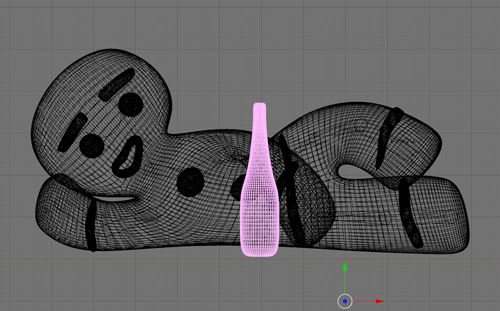
After the posing, I subdivided the models to get a more realistic rendering. The 'sexy' gingerbread man below, for example,Āhas a couple thousand faces.
I
then had to create textures for my models. I mainly used photoshop for the
texturing of the gingerbread men. I applied the UV mapped textures to my models
and exported the finished meshes in ".obj" format. This format consists of
vertices, texture coordinates, normal vectors, and face indices. The vertices
are the typical XYZ values. The texture coordinates are the XY coordinates in the
texture images that I specify. It is very helpfulĀthat the obj file already
has the normal data included, as this can be very expensive in opengl. The faces
are basically numbers into the arrays (I used vectors) of vertices, texture
coordinates, and normals. I triangulated each face, giving them three vertices a
piece. I augmented the ".m file"Āparser that Professor Wood gave us for one
of the previous labs.
I happen to be more akin to realism than others, and as
such, I wanted to accurately depict dynamic lighting and shadows in my scene
rather than attempt heirarchal animations. To help me in this task, I ended up
usingĀopengl's stencil buffer. With the stencil buffer, I had to
renderĀthe scene multiple times to detect where shadows would have to be
drawn. On the first pass, it checked what objects were between the light source
and the walls. On the second pass it changed the coloring of the walls to show
that a shadow was being projected onto them.
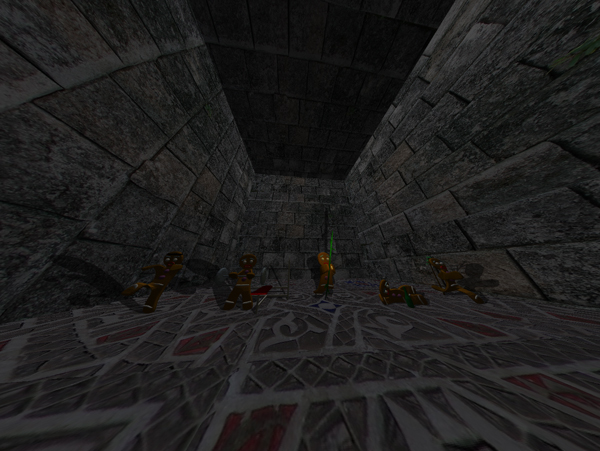
I used two lights in my
scene. One to help illuminate the walls, and one to imitate a flickering candle
to get the close-up detail of the gingerbread men. The first light is stationary
and is located about halfway up the back wall. It is a point source light. For
the second light, I gave it values for distance attenuation, so that the light
gradually falls off after a certain distance. The light also has a timer
function attached to show the flickering movement. I did this to help portray
the fact that the shadows were being rendered in real time.
Sound also
accompanies my project in the form of Eddie Murphy's version of "I'm a
Believer", originally played at the end of the movie Shrek. The sound file
starts playing when you load the program and continually repeats itself when
completed.
As an avid photographer, I thought it would be neat to model
different focal lengths for the camera (essentially field of view). I currently
allow the user to zoom between 35-135 degrees of view as seen below.
(Zoomed
Out -- 135 degrees of view)
(Zoomed In -- 35 degrees of view)

The controls for the camera,
light, and perspective are as follows:
A .................. Move Camera Left
D .................. Move Camera
Right
W ................. Move Camera Up
S ..................
MoveĀCamera Down
Q .................. Move Camera Forward
E
................... Move Camera Backward
Right Mouse ... Rotate Camera in 3D
Z ................... Zoom
Out
X ................... Zoom In
J .....................
MoveĀLight Left
L .................... Move Light Right
I
..................... Move Light Up
K .................... Move Light
Down
U .................... Move Light Forward
O .................... Move
Light Backward
Some resources I used:
www.blender3d.org
ĀĀ --used for
my modeling purposes
blendermodels.katorlegaz.com
ĀĀ
--the weight bench was a premade model here
nehe.gamedev.net
ĀĀ
--great tutorial on stencil buffered shadows
www.devmaster.net/articles/projectiveshadows
ĀĀ
--another tutorial on shadows in opengl
The RED book
ĀĀ
--excellent source of information in opengl
Thanks for
looking!!