Assignment 4, CSC 101
due Tuesday, February 25, 11:59pm
In this assignment you will continue to develop the visual aspect of your world. This assignment requires you to develop a program that will allow you to "build" your world by placing entities and background sprites using the mouse and keyboard. You will then be able to save your world and load it the next time you run your program. This program can then be used to develop worlds to be used in the final assignment.
In general, this assignment focuses on:
-
managing multiple entities using lists and grids
-
managing different kinds of data (background and entities)
-
working with files
-
converting data (converting an entity to a string representation)
-
converting mouse coordinates to view coordinates to world coordinates
Files
Create a hw4 directory in which to develop your solution. Though
you will not directly reuse all of the files from the previous assignment
(i.e., you are not expected to modify those files), you will quite likely
want to reference parts of them. You will, however, reuse your
entities.py file and your sprite files, so you should copy
them into this directory.
It is recommended that you develop your solution over multiple files. This serves to organize your code and your thought process while working on the code. There are no specific files, but we will offer some recommendations.
model.py- manages the grid(s) and entities in the world. Allows the controller to add/remove entities and background sprites. The view references (but does not change) the model. Think of this as being a newer version of the occupancy grid and entities list from the previous assignment (you will likely want to reuse some of that code).view.py- manages drawing to the screen. Gets information from the model to determine what to draw in each grid position. Tracks the viewport (see below) to determine which part of the world is visible (i.e., which part is to be drawn).controller.py- event and draw (i.e., notify the view to draw) loop to handle and respond to input (keyboard and mouse). The controller acts on input to notify the viewer of a change in the viewport and to notify the model of changes to the entities (adding/removing).images.py- contains, as appropriate, class(es) and functions the load, store, and access sprites for your worldmain.py- initializes necessary data (e.g., view and world) and starts the controller code to run the event/draw loop
Note that however you choose to organize your files, you will need to submit every file needed to run your program (all source and image files).
Overview
This section provides an overview of the functionality required by this assignment. The next section will present some suggested steps for developing this program.
The World (model) and The Viewport (view)
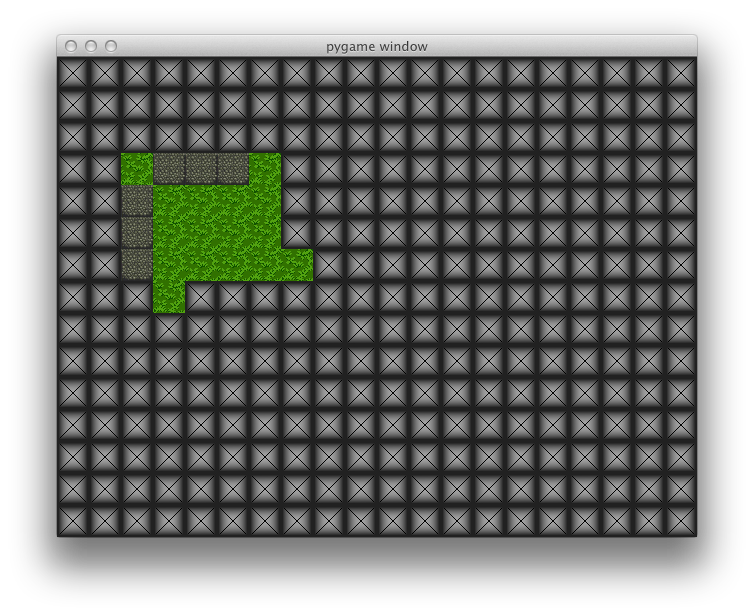
As before, your world will be a rectangular grid of "cells" or "tiles". The number of such cells is mostly up to you, but your world must be larger than the viewport (the pygame "screen") can display at a given time.
For instance, the following image is a view of my entire world (at a very early stage). This is not, however, what the user of the program will see (the world is simply too massive to view all at once; as is demonstrated by the margin-defying screenshot that is intentionally left unscaled).
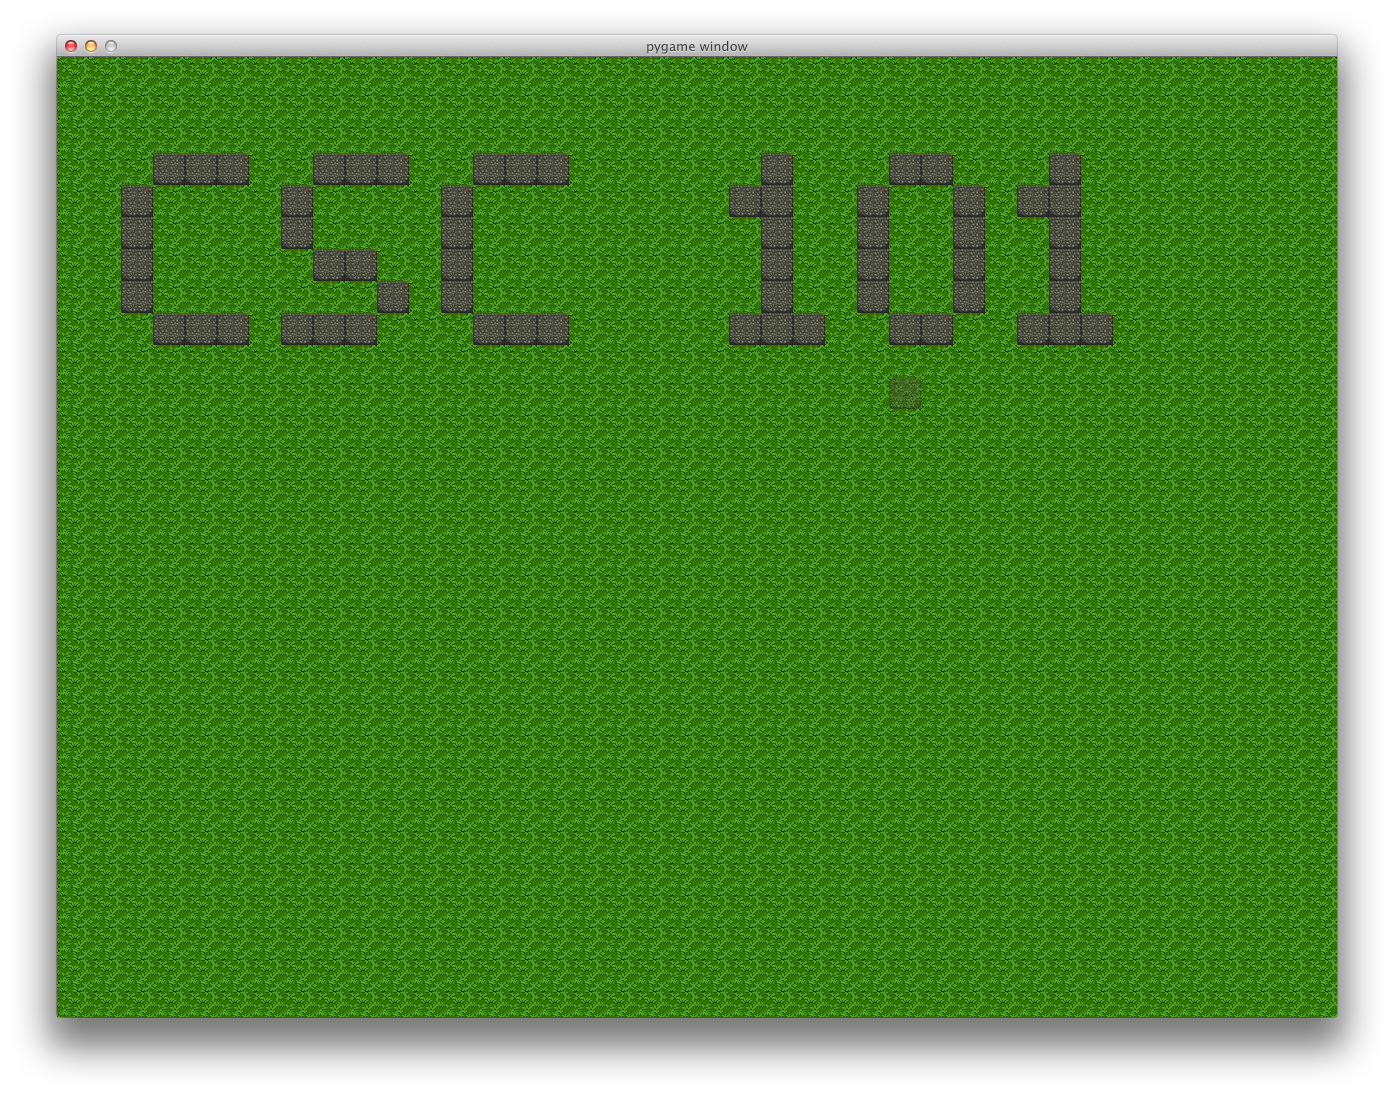
When displayed properly to the user of the program, the viewport shows only a smaller portion of the world.
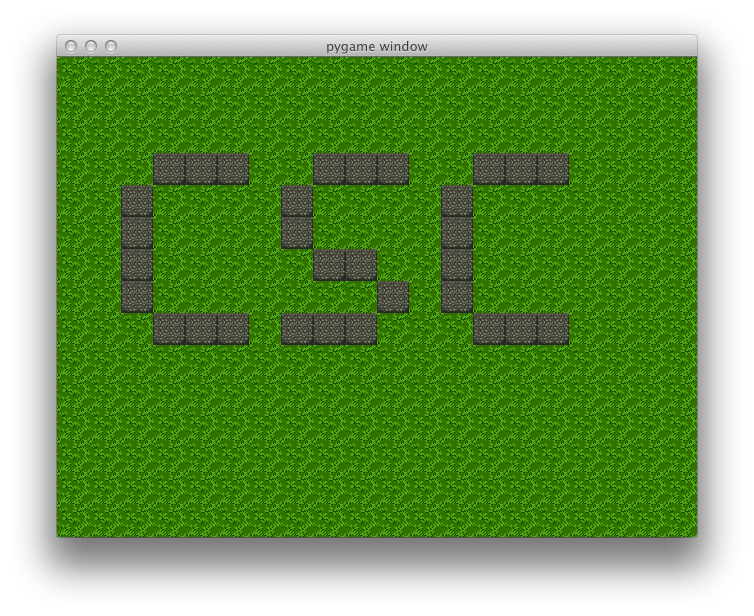
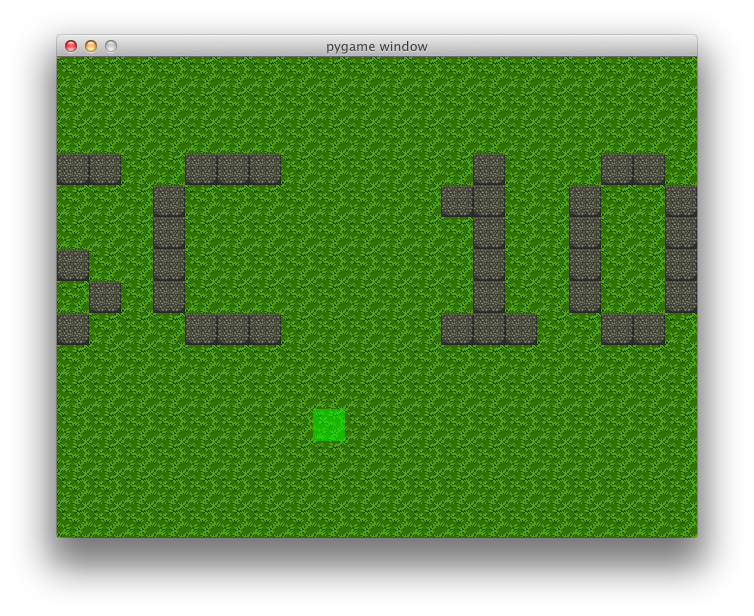
This view of the world is clearly more manageable for the user, but what if one wants to see more of the world (travel!)? Your program will support moving the viewport over the world.
For instance, move the viewport to the right.
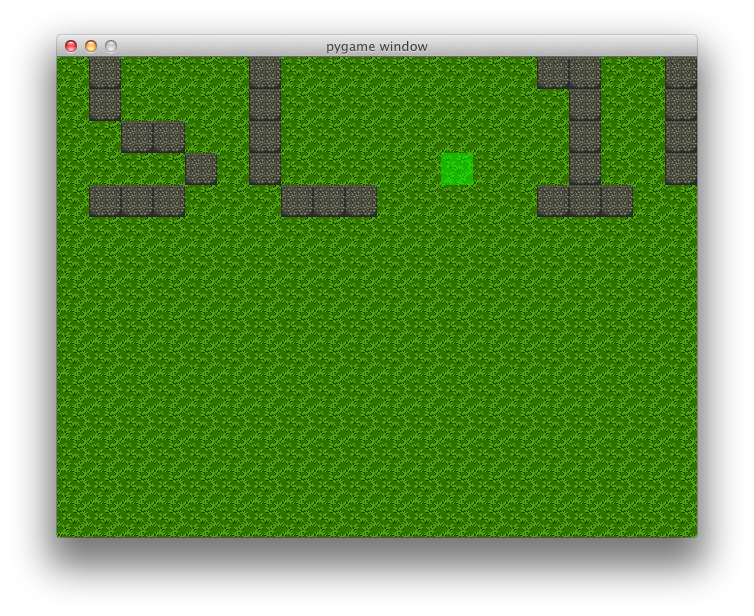
Or to the right and down. But not off the edge of the world (and no wrapping allowed; the world is flat!).
Modifying the World
Your program will support world building through a combination of the mouse and the keyboard. One will select an entity or a background sprite with a keypress and then place that entity with a click of the left mouse button. Your program will also support removing an entity with the right mouse button.
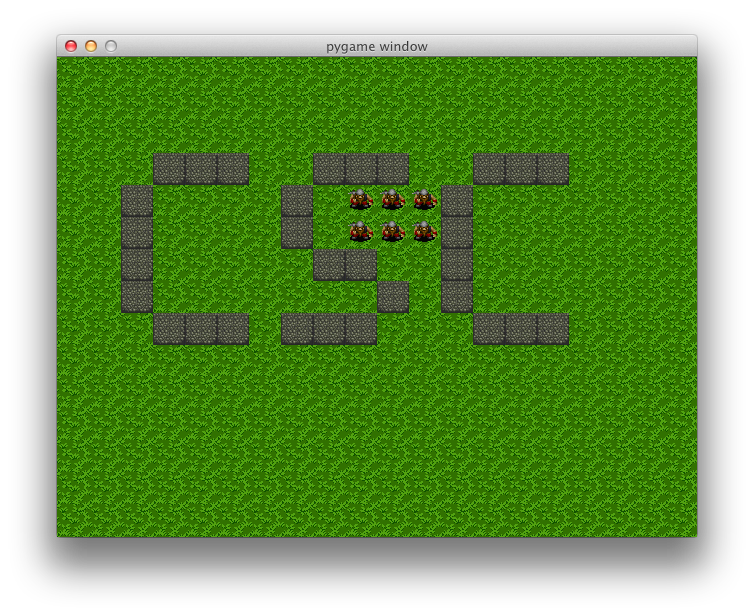
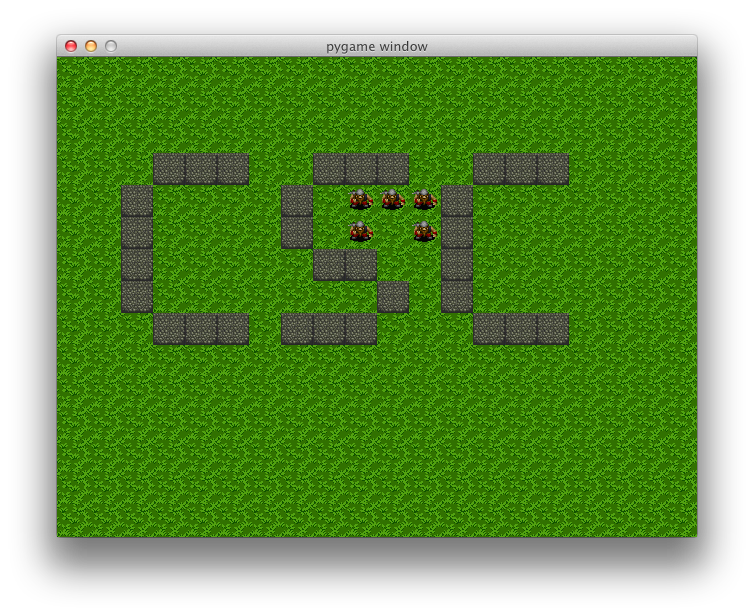
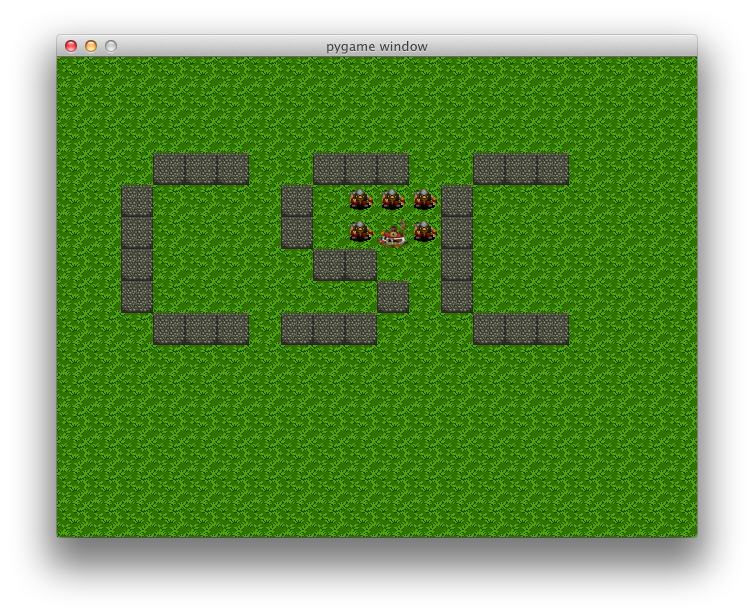
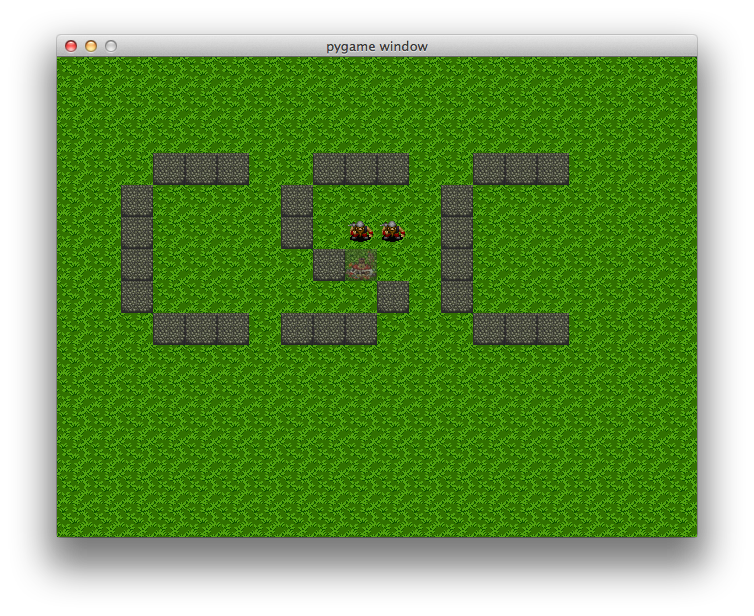
For instance, in the following sequence of screenshots one will see a party of miners, the removal of one miner, and the addition of a blacksmith building.
Saving and Restoring the World
One goal of this program is to provide a means to develop and then save your world for later reuse. Random worlds are useful for stressing your code in different ways, but they can take away from the creative aspect of your world. Fortunately, we are now equipped to save and restore worlds (like programming superheroes).
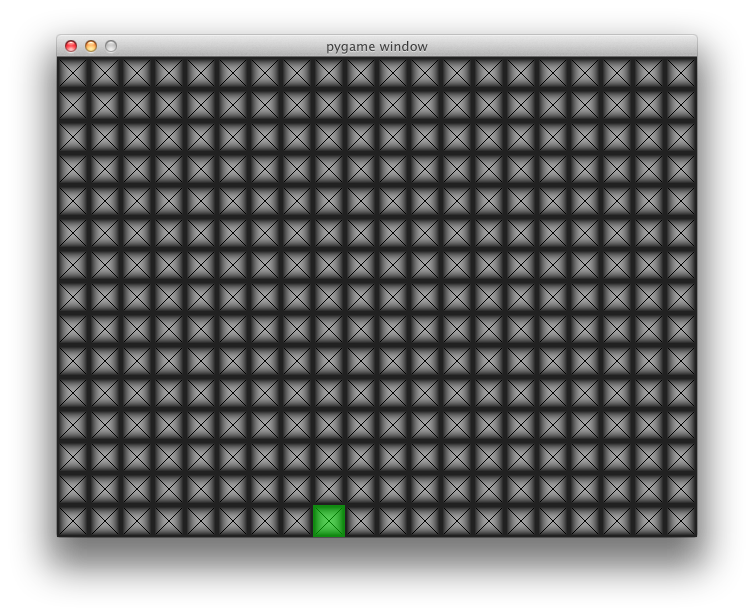
The details of this part of the assignment will be discussed below, but the following screenshots show the world when the program begins (kind of bleak), a saved snapshot of the world under development, and the the final state (as seen before). The saving and restoring aspect will be more clearly displayed in lecture.
Details
The overview presented the overall functionality that your program must support. This section provides more details and gives a general approach that you may wish to take (e.g., in the order as presented below).
World Size, Viewport Size, and Controls
Your world must be of a size larger than your viewport. You have freedom in setting the exact dimensions, but your world must have at least twice as many rows as the viewport and at least twice as many columns as the viewport. For example, if your tiles are 32x32 and your screen is 640x480 pixels, then your viewport will be 20x15 tiles (grid cells). As such, your world must be at least 40x30. This will give your world enough space for the viewport to move around.
Configure your controller to update the viewport when the "arrow" keys are pressed. If the viewport is currently at the edge of the world and the keypress would go beyond the edge, then do not move the viewport (do not wrap back around the world).
The view code will draw the appropriate sprites for the tiles that are currently visible. This will require that you determine which tiles are visible based on the position of the viewport.
Development tip: Implement and manually test this portion of the assignment first by either randomly placing background tiles (you will want at least two different sprites) or by placing background tiles at strategic locations (e.g., on the boundary of the initial viewport view).
Background and Entity Placement
Configure your controller to respond to mouse clicks to place background tiles and entities and to respond to keypresses to select the background tile or entity to place on the next click.
Assign keys (from the keyboard) to each background tile type (you should
have at least two for visual variety) and to each entity type. You may
choose any key (except for s and l) that you
wish. List these keys in a file named README and submit
this file with your code.
When the left mouse button is pressed, the selected background tile or entity type will be placed in the cell located below the mouse cursor (if no type was selected, then do nothing). When a new entity is generated, you can use random values for any of the arguments required for the object (though the position is based on the mouse position, of course).
Note carefully that a background tile placed in a cell will replace any previously placed background tile and an entity placed in a cell will replace any previously placed entity, but a grid cell may (conceptually) hold both a background tile and an entity. This is important to allow a cell to display a background tile even when the entity moves away. Consider using two grids to implement this functionality.
When the right mouse button is pressed, the entity in the cell located below the mouse cursor is removed from the world. Only entities can be removed; background tiles will remain.
The mouse button actions should be handled by the controller which will pass the relevant information to your model code (since it handles the world data).
Development tip: take this part slowly. You might first implement the addition of a specific background tile when the left button is clicked. Then you can move to selecting the tile with a keypress. Then work on each entity type one at a time. Finally add the right-click remove functionality.
Obstacle Entity
You must define a new entity that will act as an "obstacle" in your
world. This obstacle will prevent other entities from moving into
the grid cell occupied by the obstacle. Define a new class for your
obstacle and extend the placement handling code to support adding
obstacles to your world via the mouse (be sure to update your
README file).
Saving and Loading
Extend the keypress handling code to handle the s key
to trigger a save of the world and to handle the l key
to trigger a load of the previously saved world.
When a save is initiated, the contents of your world (the background
tiles and entities) must be written to a file (named gaia.sav).
You will need to write enough information to reconstruct the world. As such,
you will want to write all of the data that would be required to reconstruct
an object. As an example, a portion of the world file for my world is given
below. The details of the contents of my file are not terribly important,
but the first word on each line gives the type of tile/entity and the first
two numbers give the location (in grid coordinates).
background grass 0 0
background grass 0 1
background rocks 3 8
miner miner_9_5 9 5 2 762
When a load is initiated, the current state of the world is cleared and
the contents of the file (gaia.sav) are read to restore the
world to the previously stored state.
Development tip: you can actually implement loading first, if you desire. To do so, you can use your text editor to write a portion of the save file. Taking this approach will give you a chance to guarantee that you have stored enough information to reconstruct an entity/tile.
Polish
One could implement any number of improvements on this program, but only two are suggested here.
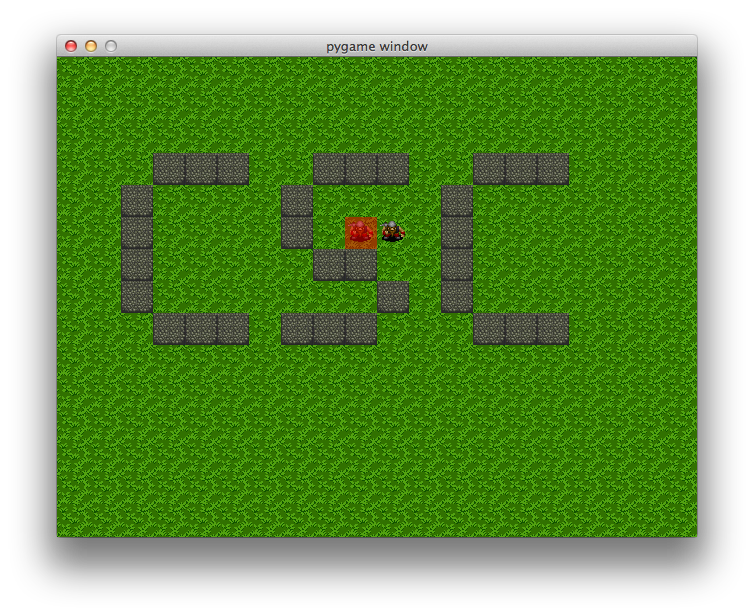
It is convenient for the user to know if the mouse is hovering over an entity or not. As such, consider implementing a visual indication that a remove action is viable or that placing an entity will replace an existing entity. For example, the following image shows a red coloring below the mouse when hovering over an existing entity (one can see the related green coloring in earlier screenshots).
A visual cue for the background tile/entity selected for placement is also a great aid to the user. Without this cue there is no direct means to track what will be placed without placing and then, if desired, removing an entity. Consider implementing a visual cue for the selected entity. For example, the following image shows the selected entity type below the mouse cursor (in the tile below the left miner in this image; it is a bit hard to see in this screenshot because of the selected color key).
Handin
You must submit your solution on unix11.csc.calpoly.edu (or on unix12, unix13, or unix14) by 11:59pm on the due date.
You will submit to the akeen user. Submit all files needed to run your program including all code files, all sprite image files, your README file, and one gaia.sav file.
At the prompt, type handin akeen x101hw4 *.py README gaia.sav and also submit all of your sprite image files (in bmp format).
Note that you can resubmit your files as often as you'd like prior to the deadline. Each subsequent submission will replace files of the same name.
Grading
The grading breakdown for this assignment is as follows.
Clean Execution: 10% — Program executes without run-time errors (and the submitted source demonstrates a legitimate attempt at a solution).
Functionality (viewport): 20% — Viewport movement is supported.
Functionality (mouse placement): 30% — Mouse placement of entities/tiles is supported.
Functionality (obstacle entity): 5% — A new obstacle entity is supported.
Functionality (save/load): 25% — World saving and loading is supported.
Polish: 10% — Visual polish has been implemented.